How to paint Watermelon with Watercolor in easy steps:
How to paint Watermelon in 6 easy steps:
The beautiful combination of red, green and dark spots of watermelon, this sweet summer fruit, has always inspired me. This tutorial is about the two of my Watercolor Watermelon Paintings that I would like to share with you and also encourage you to try the tutorials and paint the watermelons by yourself. Below watermelon paintings are an absolute fun and easy painting idea to do it your self at home. The good news is that you can frame the the original painting and put it on wall in summer time or in winter when you miss summer, once you have your painting you can create the image or photograph of your painting and find a print house to help you with print on home decor products, you can be your DIY home designer, well this makes me excited, I hope you feel the same.
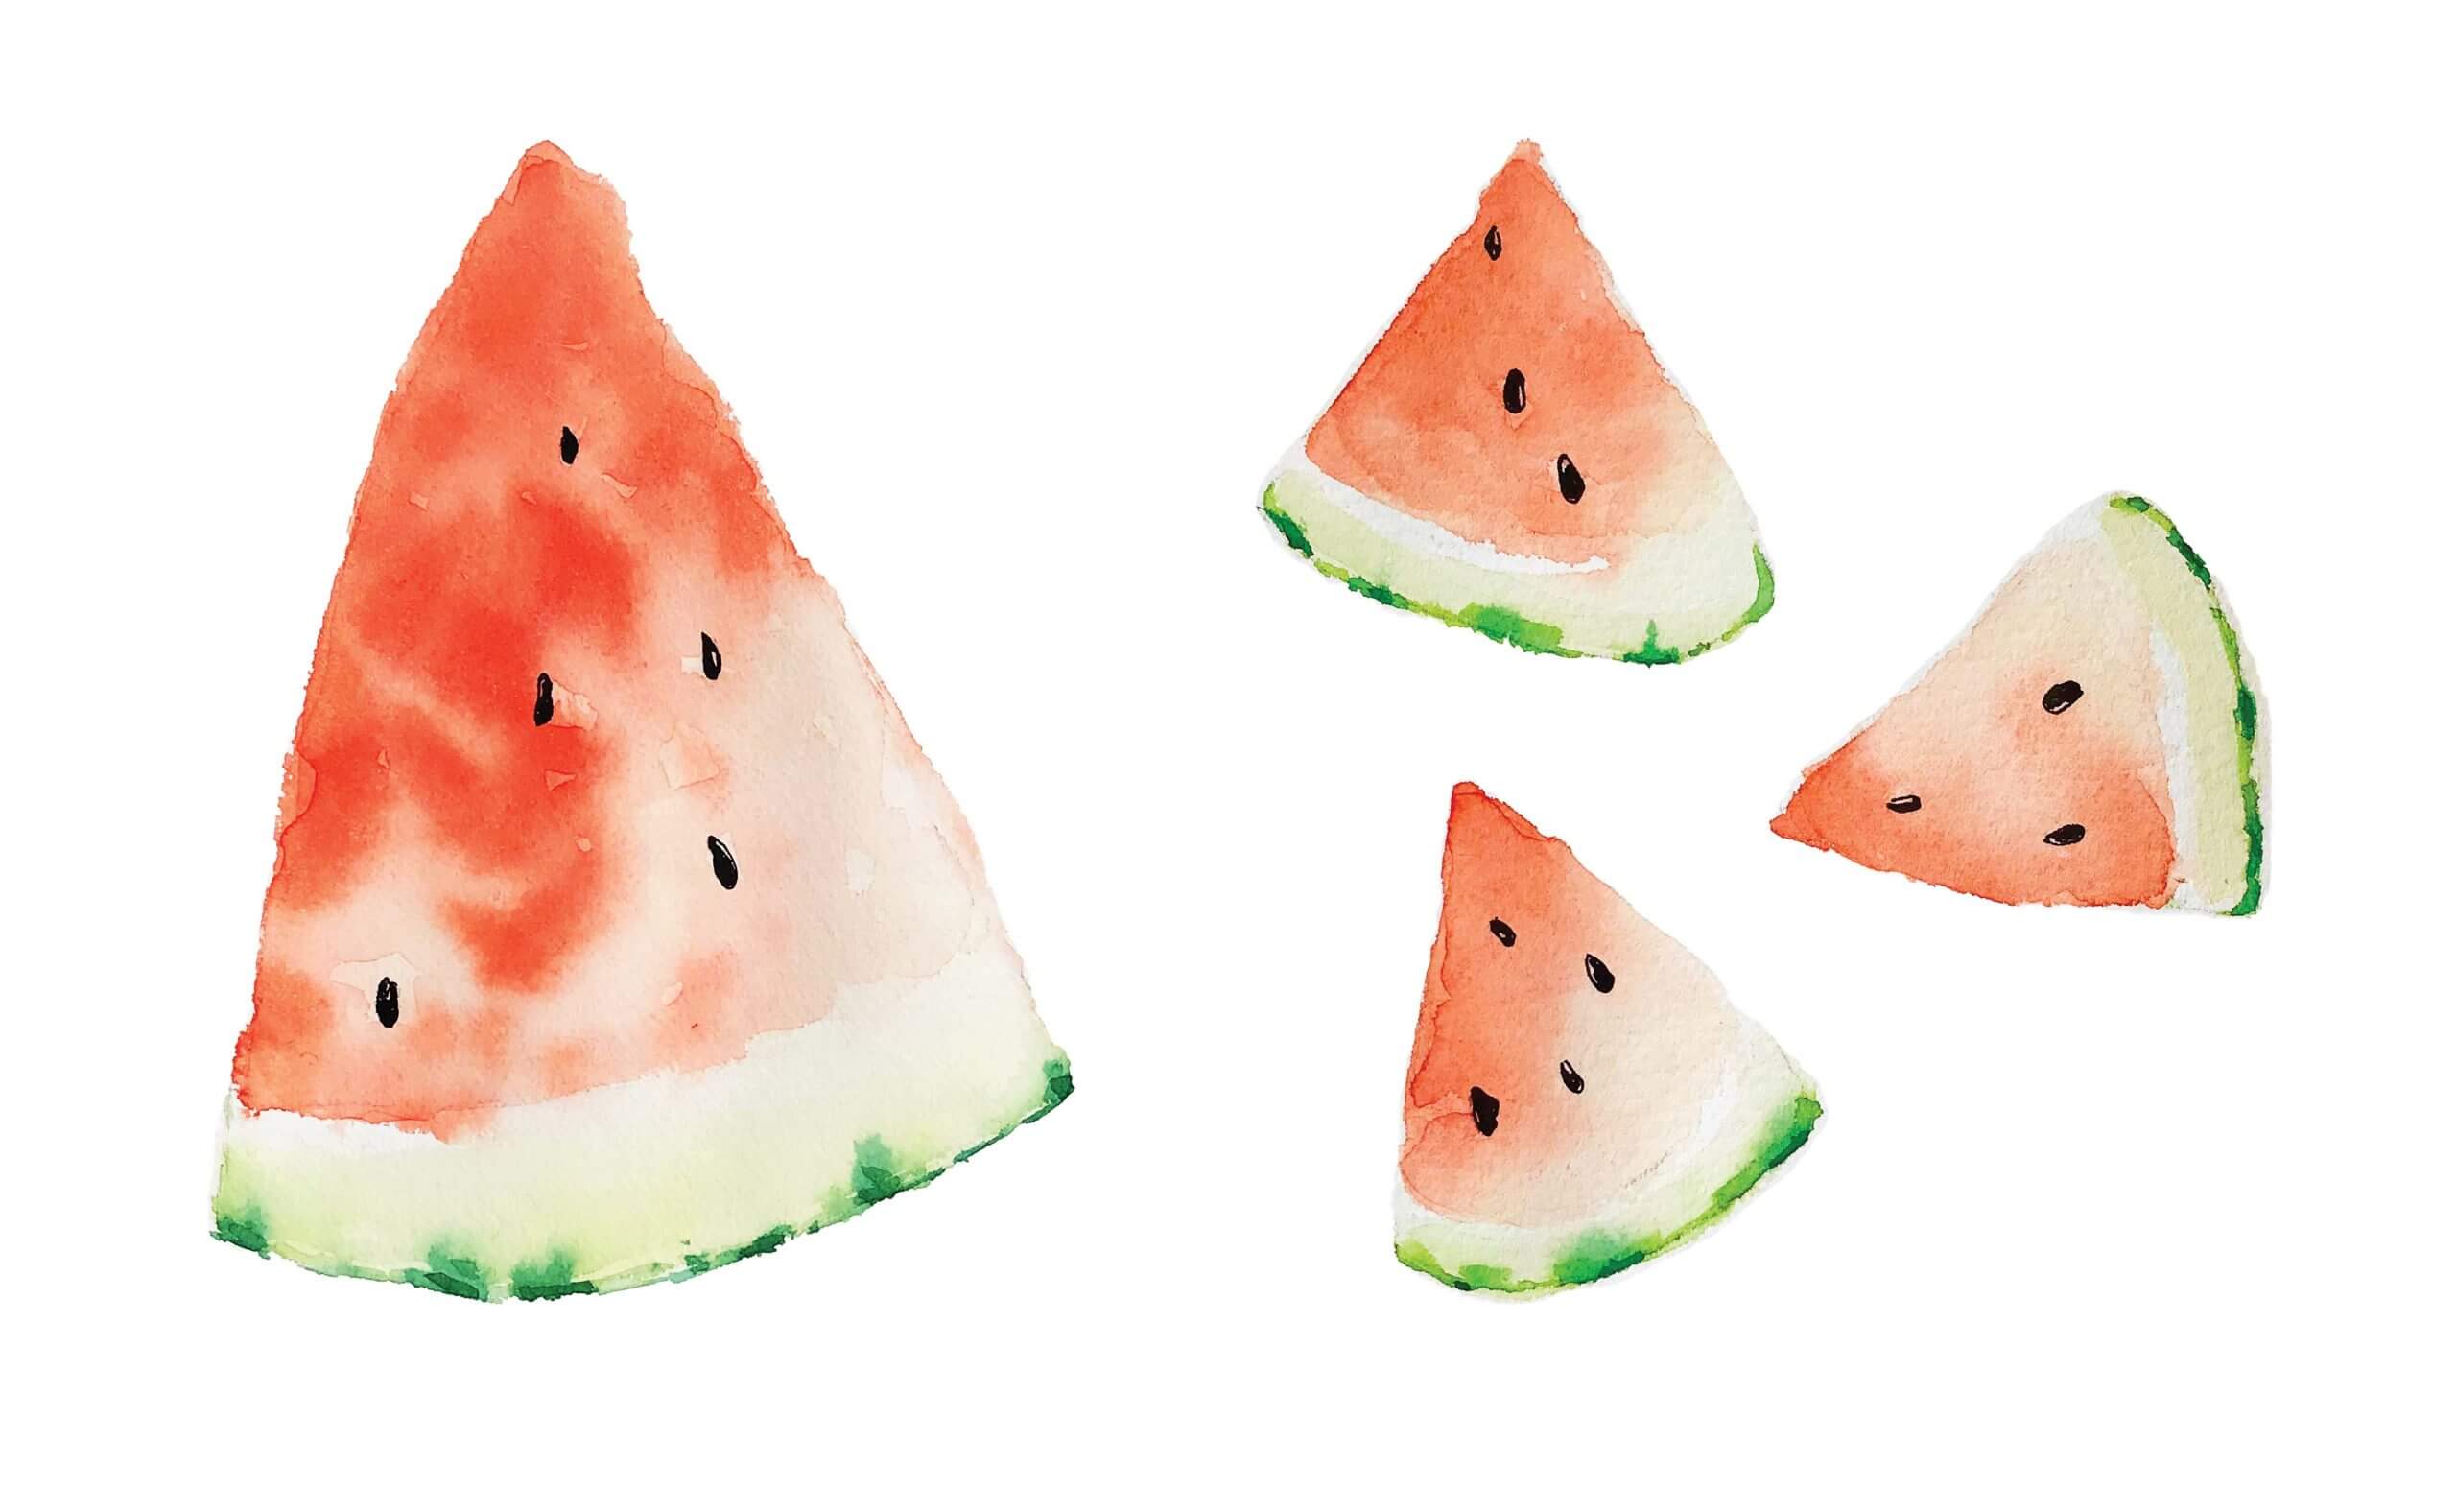
This is the final painting, which is available for purchase online as poster or sticker, this also give you some ideas how they will look like when you hang them on the wall. Obviously you can get creative when it comes to your room decoration, you can chose to frame the original painting or have it as a canvas print and etc.
What Painting materials and equipment you will need:
Before we start we need to know what are the needed equipment to make these beautiful watercolor paintings. I would recommend you to use professional painting equipment, it has an important effect on the outcome of your work. Below you can find name or brand of material I use, I have added the picture these products so you can find them in store easier.
What Watercolor Painting colors to use:
I used Winsor & Newton ultramarine blue, Yellow Gamboge and red for these painting. I have the habit of painting with the three primary colors and mixed them to get secondary colors. I don’t have green in my pallet, for green parts of these paintings I mixed ultramarine blue and Yellow Gamboge.
- What type of watercolor paper to use:
I have used Fabriano Torchon 300 gr (140 lb) for this painting you can also try Fabriano Artistico 100% 300 gr (140 lb).
- How large needs to be the size of paper :
A4 or A5 is good enough for each of these paintings.
- What painting brushes to use:
You need round brush size 2,4 and 6.
- How long does it take to finished these paintings:
You should be able to finish your art work between 1-3 hours, it really depends how fast you are in painting and drawing.
How to paint Watermelon with Watercolor in 6 easy steps:
Step 1: Draw the outline of watermelons the paper:
The drawing of these watermelon is rather easy, a triangle shape I would recommend not to have very straight and even lines. You can download my Painting Sketch for your reference here, however please make sure you will tag #MahsaWatercolor in your social media posts to support my works. You can find my Instagram and Facebook page under #MahsaWatercolor.
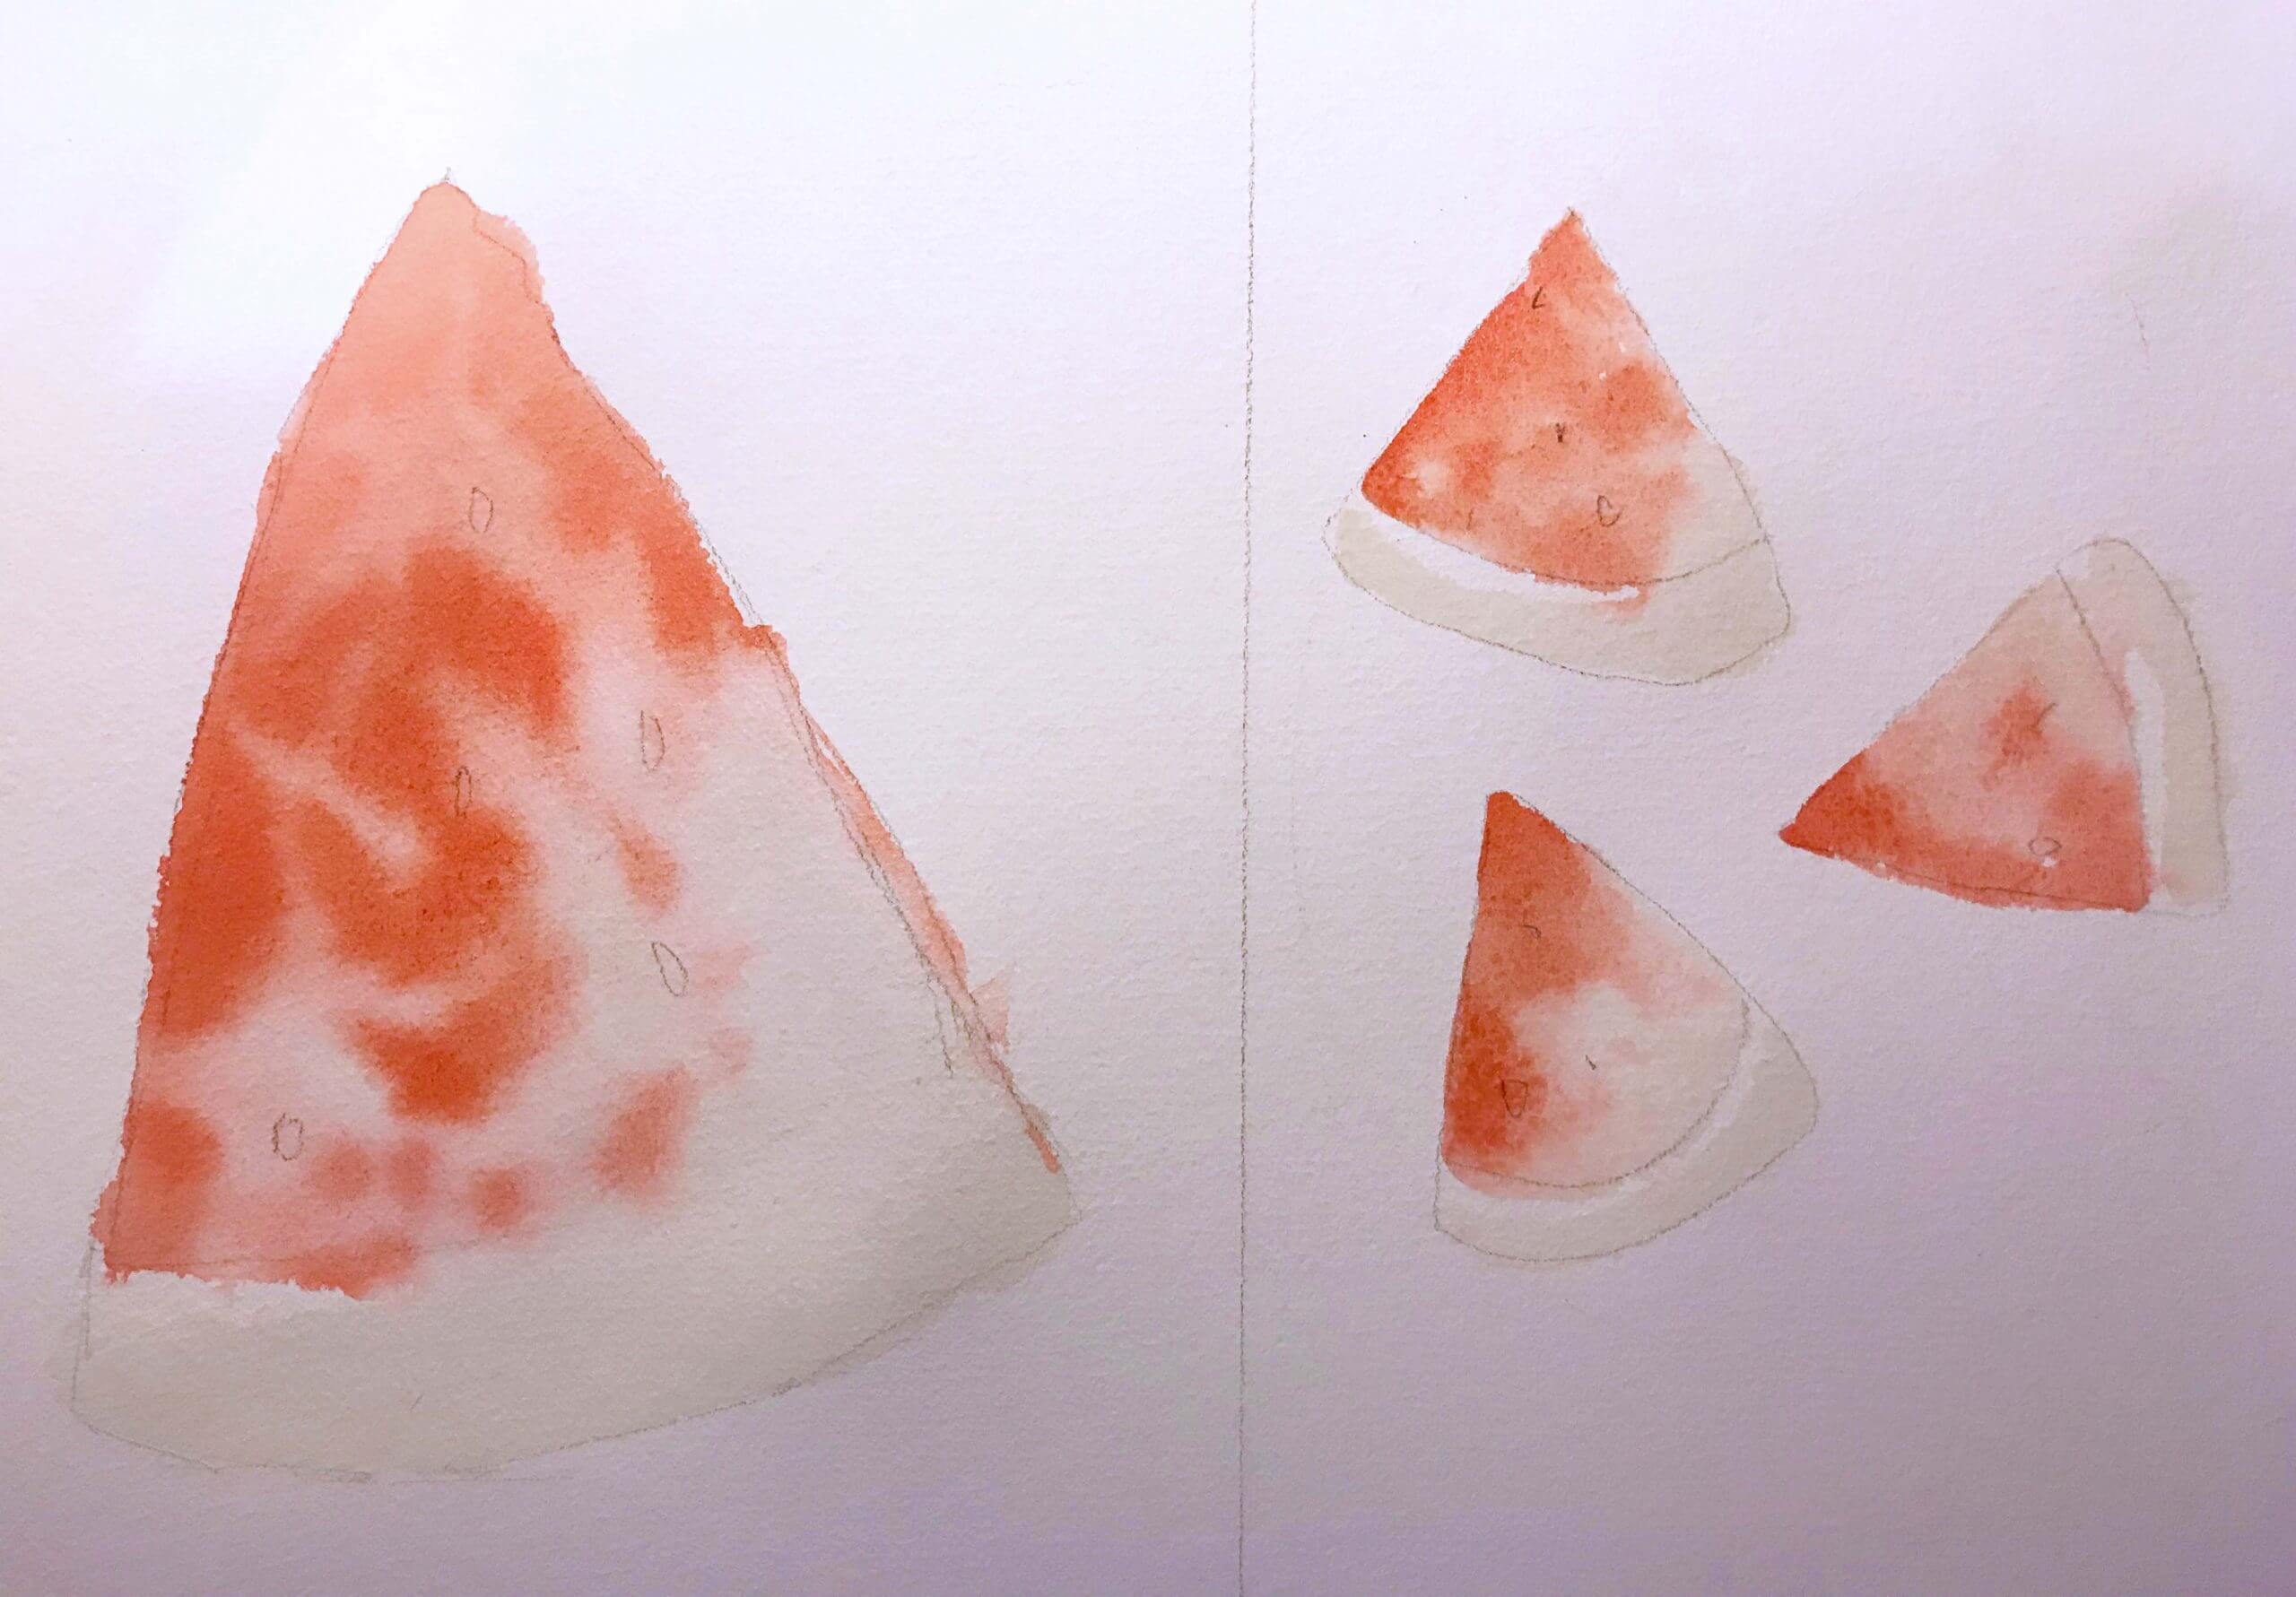
Step 2: Paint the first red layer of the watermelon
For this painting first you need to make the paper wet, only the the area you want to paint in red, make sure all edges and corners are wet, then pick some red paint and spread on the very top part of your watercolor drawing, make sure your brush is not too wet and not very dry, your brush need to hold good or think amount of red color and once you put it on paper you will see it flows in the water, now make sure you will leave some while spaces areas, don’t cover the area completely with red, let he color flow in water by tapping on the paper with your loaded brush. This is actually the fun part of this painting.

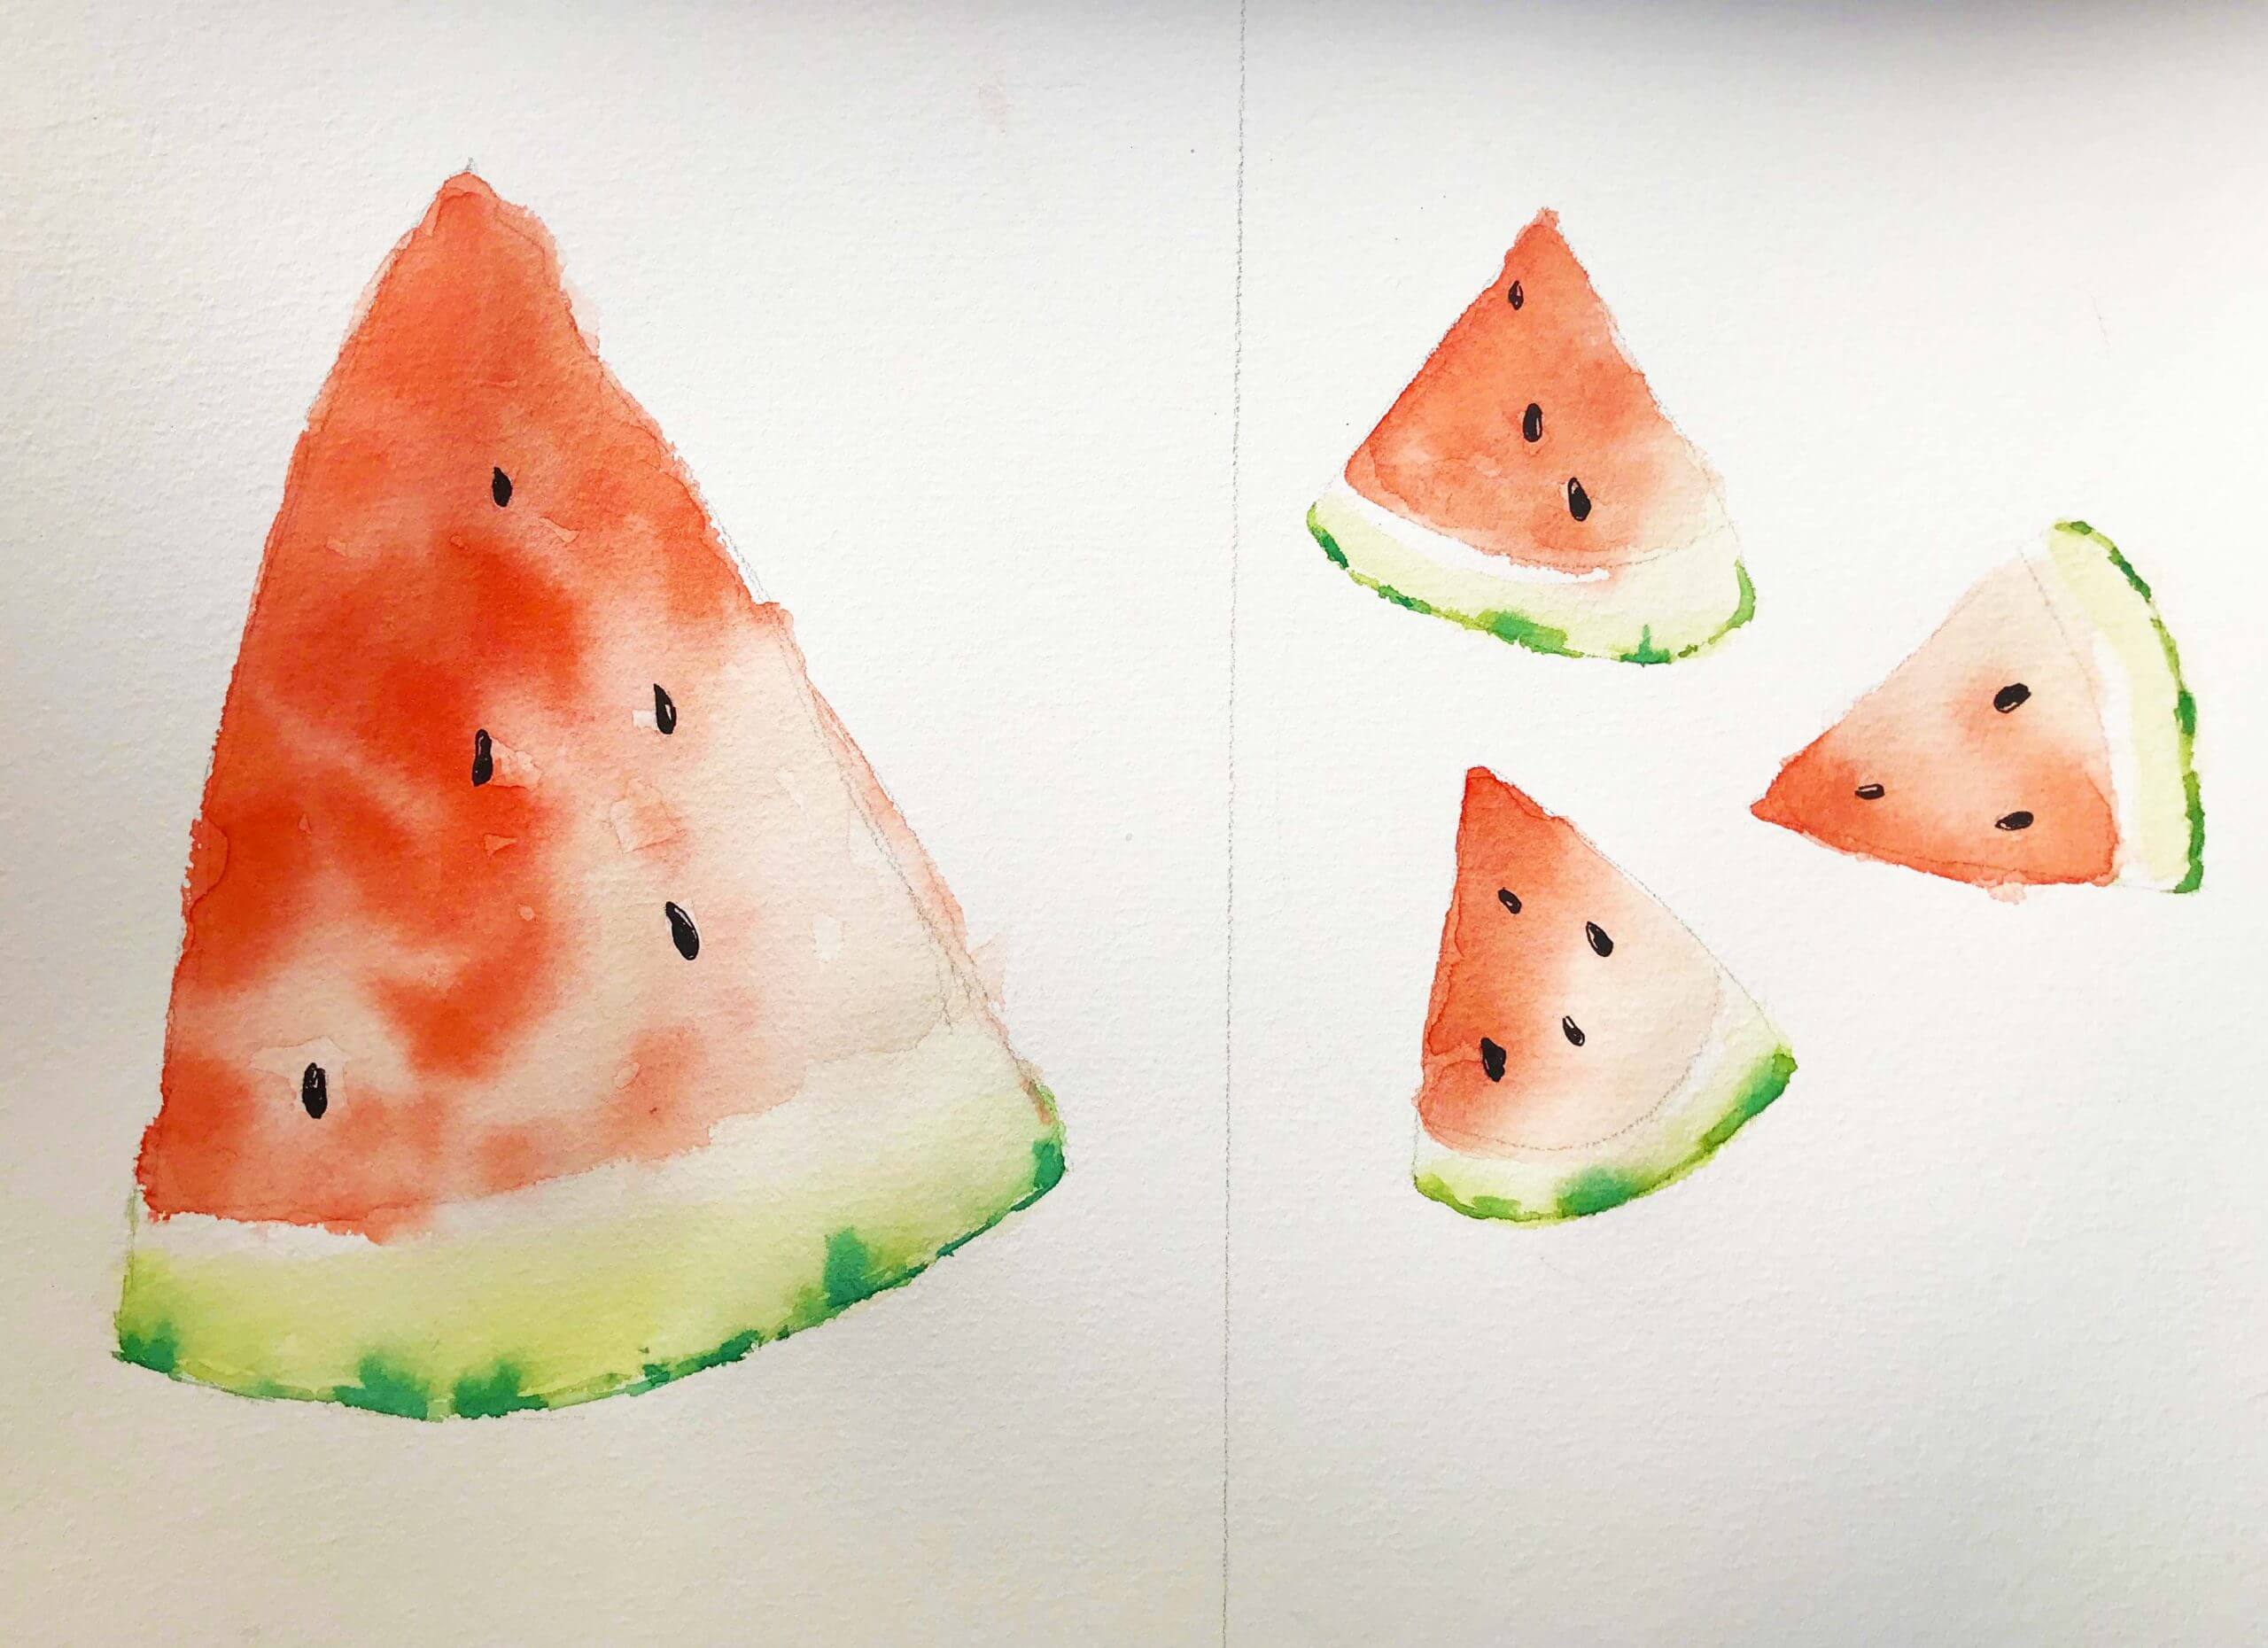
Step 3: Paint the first green later of the watermelon
Until the red part gets dry you can start the green area. You will need to shades of green for this area, you can use ready green paints or mix blue and yellow, if you mix blue and yellow just please test the shades on a separate paper to see if you are happy with the mixture, You need to use transparent colors such as BLUE & Yellow other wise you may get muddy color. For the light green you need to us more yellow and for darker green more blue or less yellow. Before putting the color on paper make sure you have tested your mixture on a separate paper and you are happy with the result. If this color mixing is what not make you excited you can use your light green color and darkest from Winsor and Newton.
Make sure you will leave some white space between red and green part of these watermelon paintings. First make the rind area wet again, start from bottom section, then load your brush with darker green paint and move across the bottom line from from edge to the other. Once you are done, wash your paint and take some lighter green and paint the top part of rind. Make sure you leave some white space during this process. You touch the paper with your brush on wet paper and guide the paint around but not fully cover whole area with paint. You should let he color and water flow.
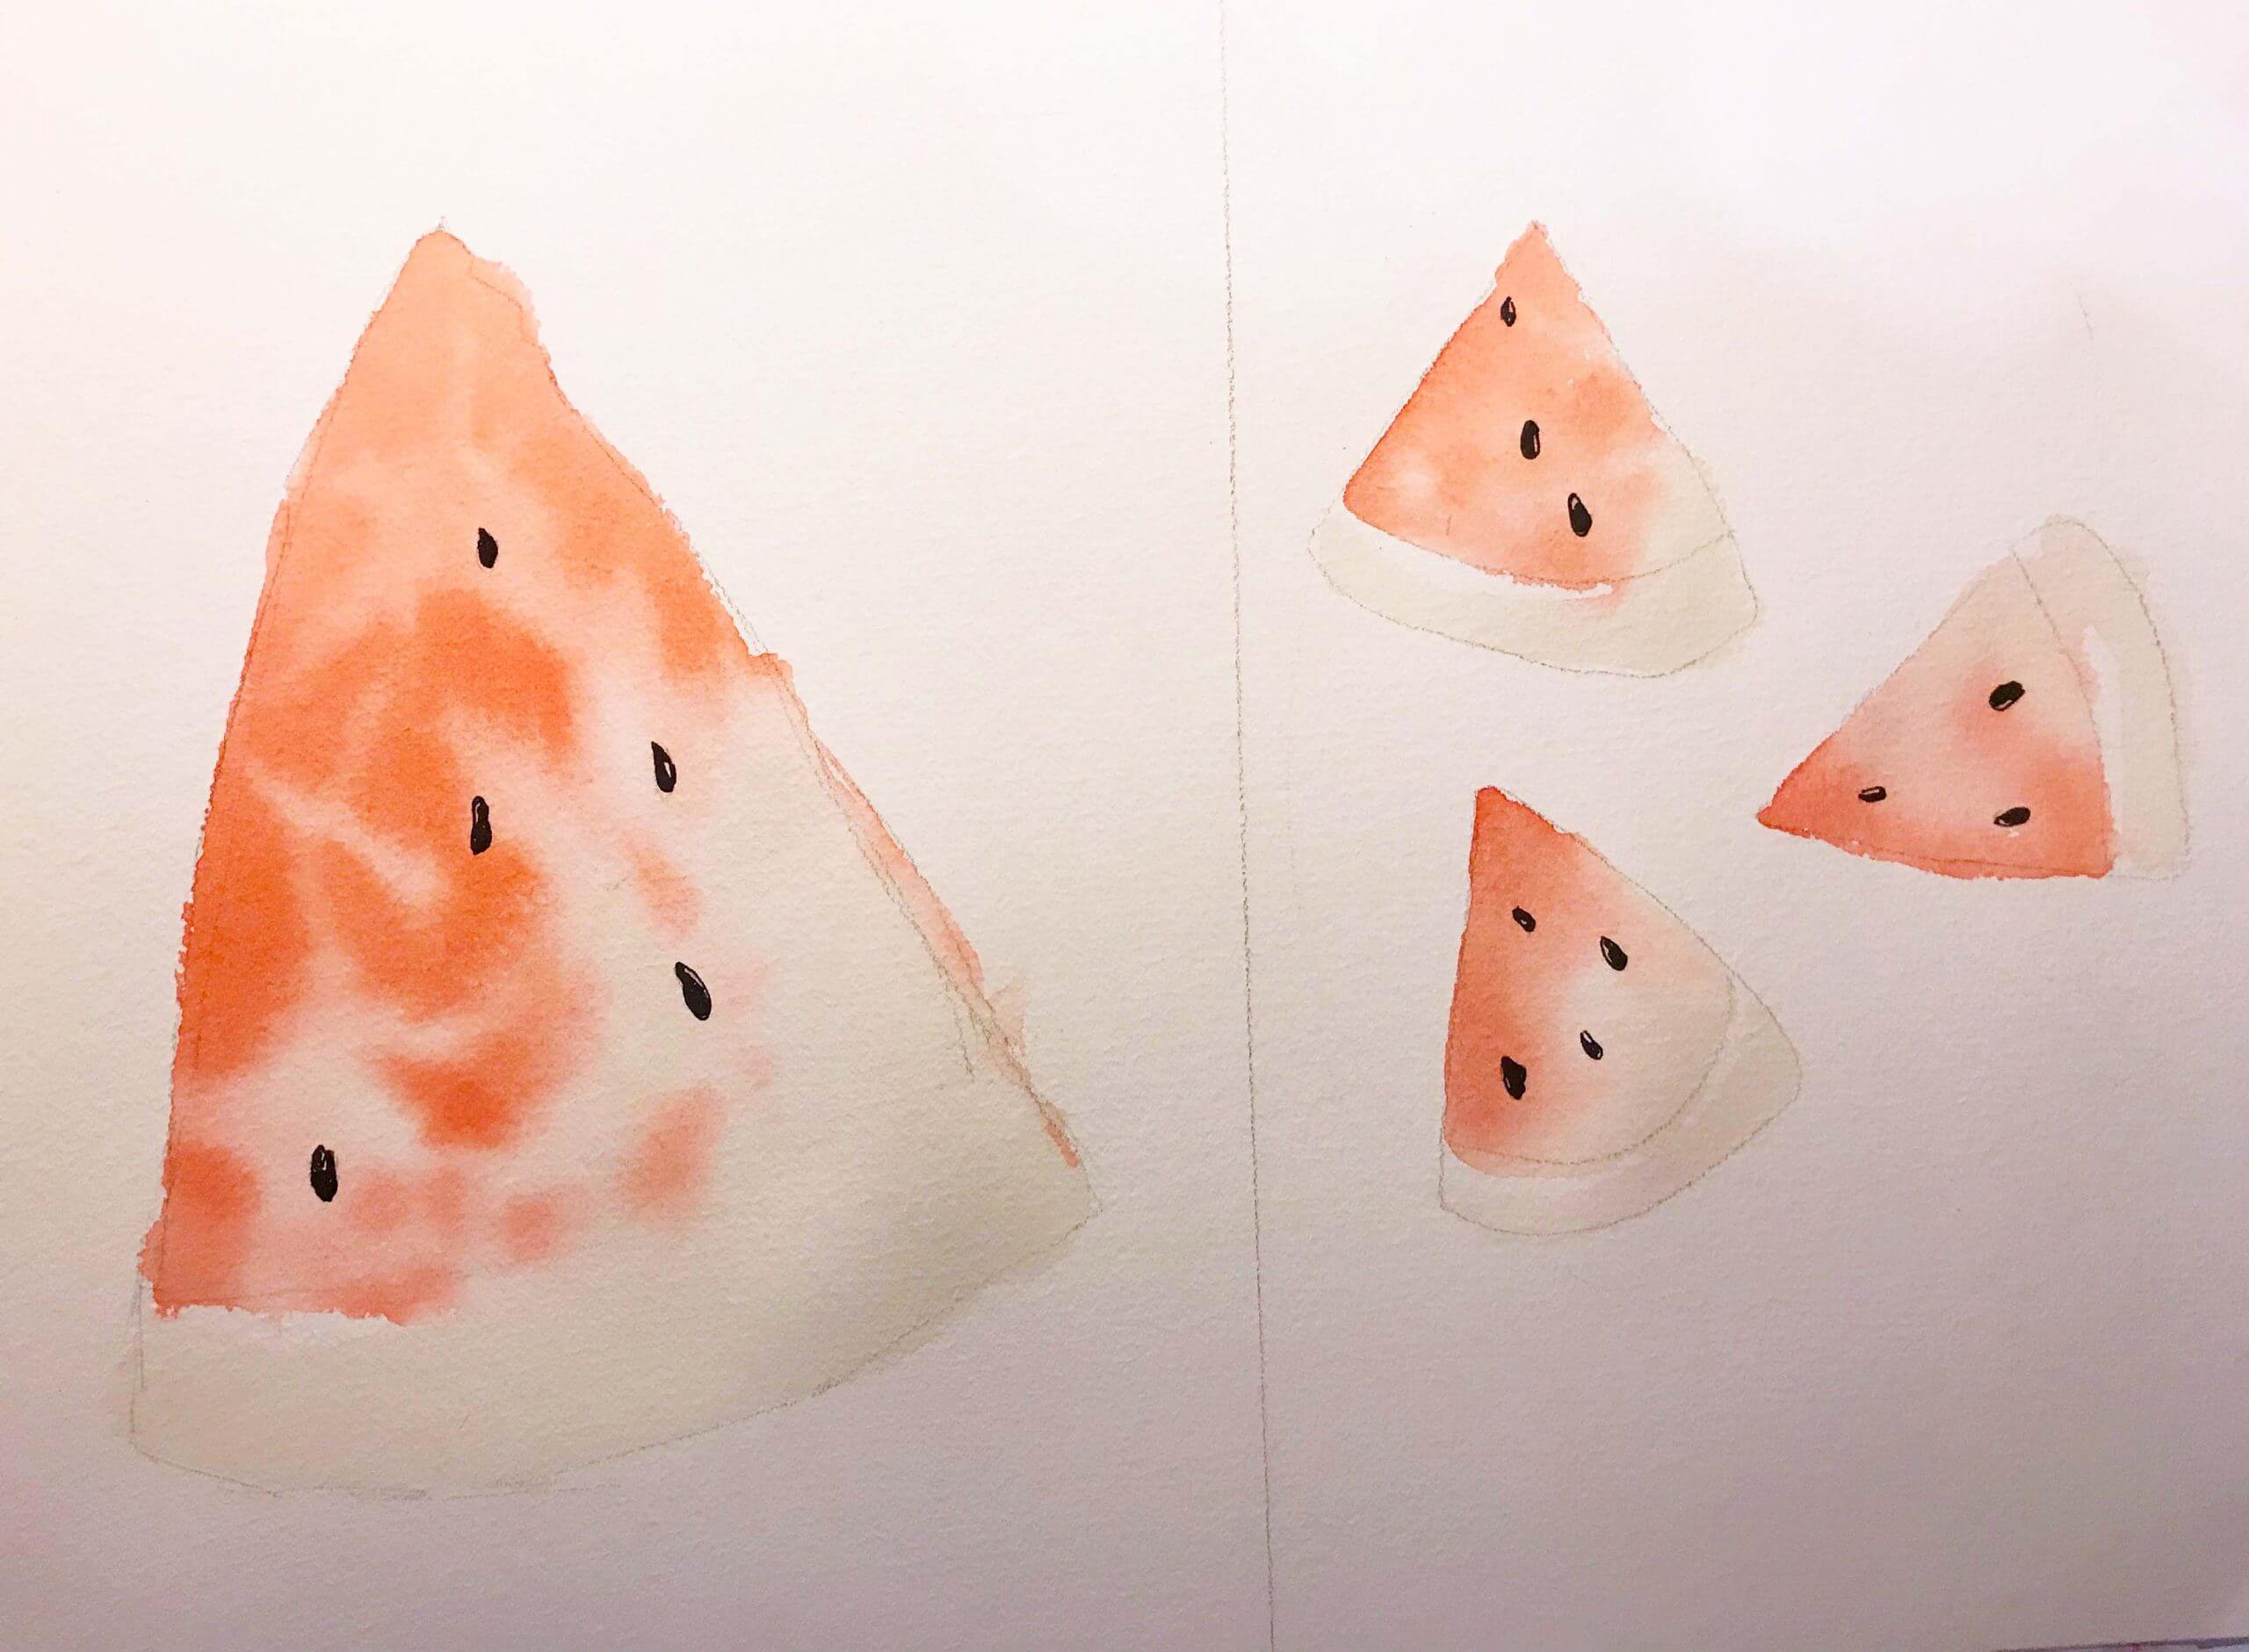
Step 4: Paint the Watermelon Dark Seeds
For this step you should make sure your red paint is dried, there are different method to draw dark seeds however for this painting I simply used my uni ball black pen and draw an oval shape seeds with a little while area, but you can mix Blue and x color and load your brush (nearly dry) with a very thick paint, and draw the watermelon seeds.

Step 5: add more layer of red and green paint to Watermelon painting
In this step you can repeat the step 2 and 3 again. In this way you will create a vivid and fresh looking colors on your painting. Please make sure your first layers are completely dry before adding new color.

Step 6: Adding darker details
You can add some darker green lines and dots in the bottom of the watermelon. You are ready with your beautiful and cool watercolor paintings.

Hope you enjoyed the tutorial.
Please let me know if you would like more tutorials on similar or other objects.
Thank you
Mahsa

